
Atari Ultimate Dual Arcade Fight Stick with Trackball Mods – Power
Welcome to a series where I attempt to modify Microcenter’s Atari Ultimate Dual Fight Stick with Trackball. I’ve been meaning to do a project like this for a long time. My goal is to add more functionality to the Fight Stick while keeping it nice and clean.
For starters, the Fight Stick has the ability to house a Raspberry Pi inside as mine came with standoffs to install it on. It comes with a power supply that you can plug into an outlet to power it, but I would like the ability to use the Pi without having to always plug it in in case the TV I am plugging the Fight Stick into doesn’t have easy access to a wall outlet.
With that in mind, you would need an internal power bank to power the Raspberry Pi. The larger the better, of course, and one preferably with pass through charging capability. What that means is if I do have it plugged into the wall, the power bank should be able to charge itself as well as power other items attached to it.
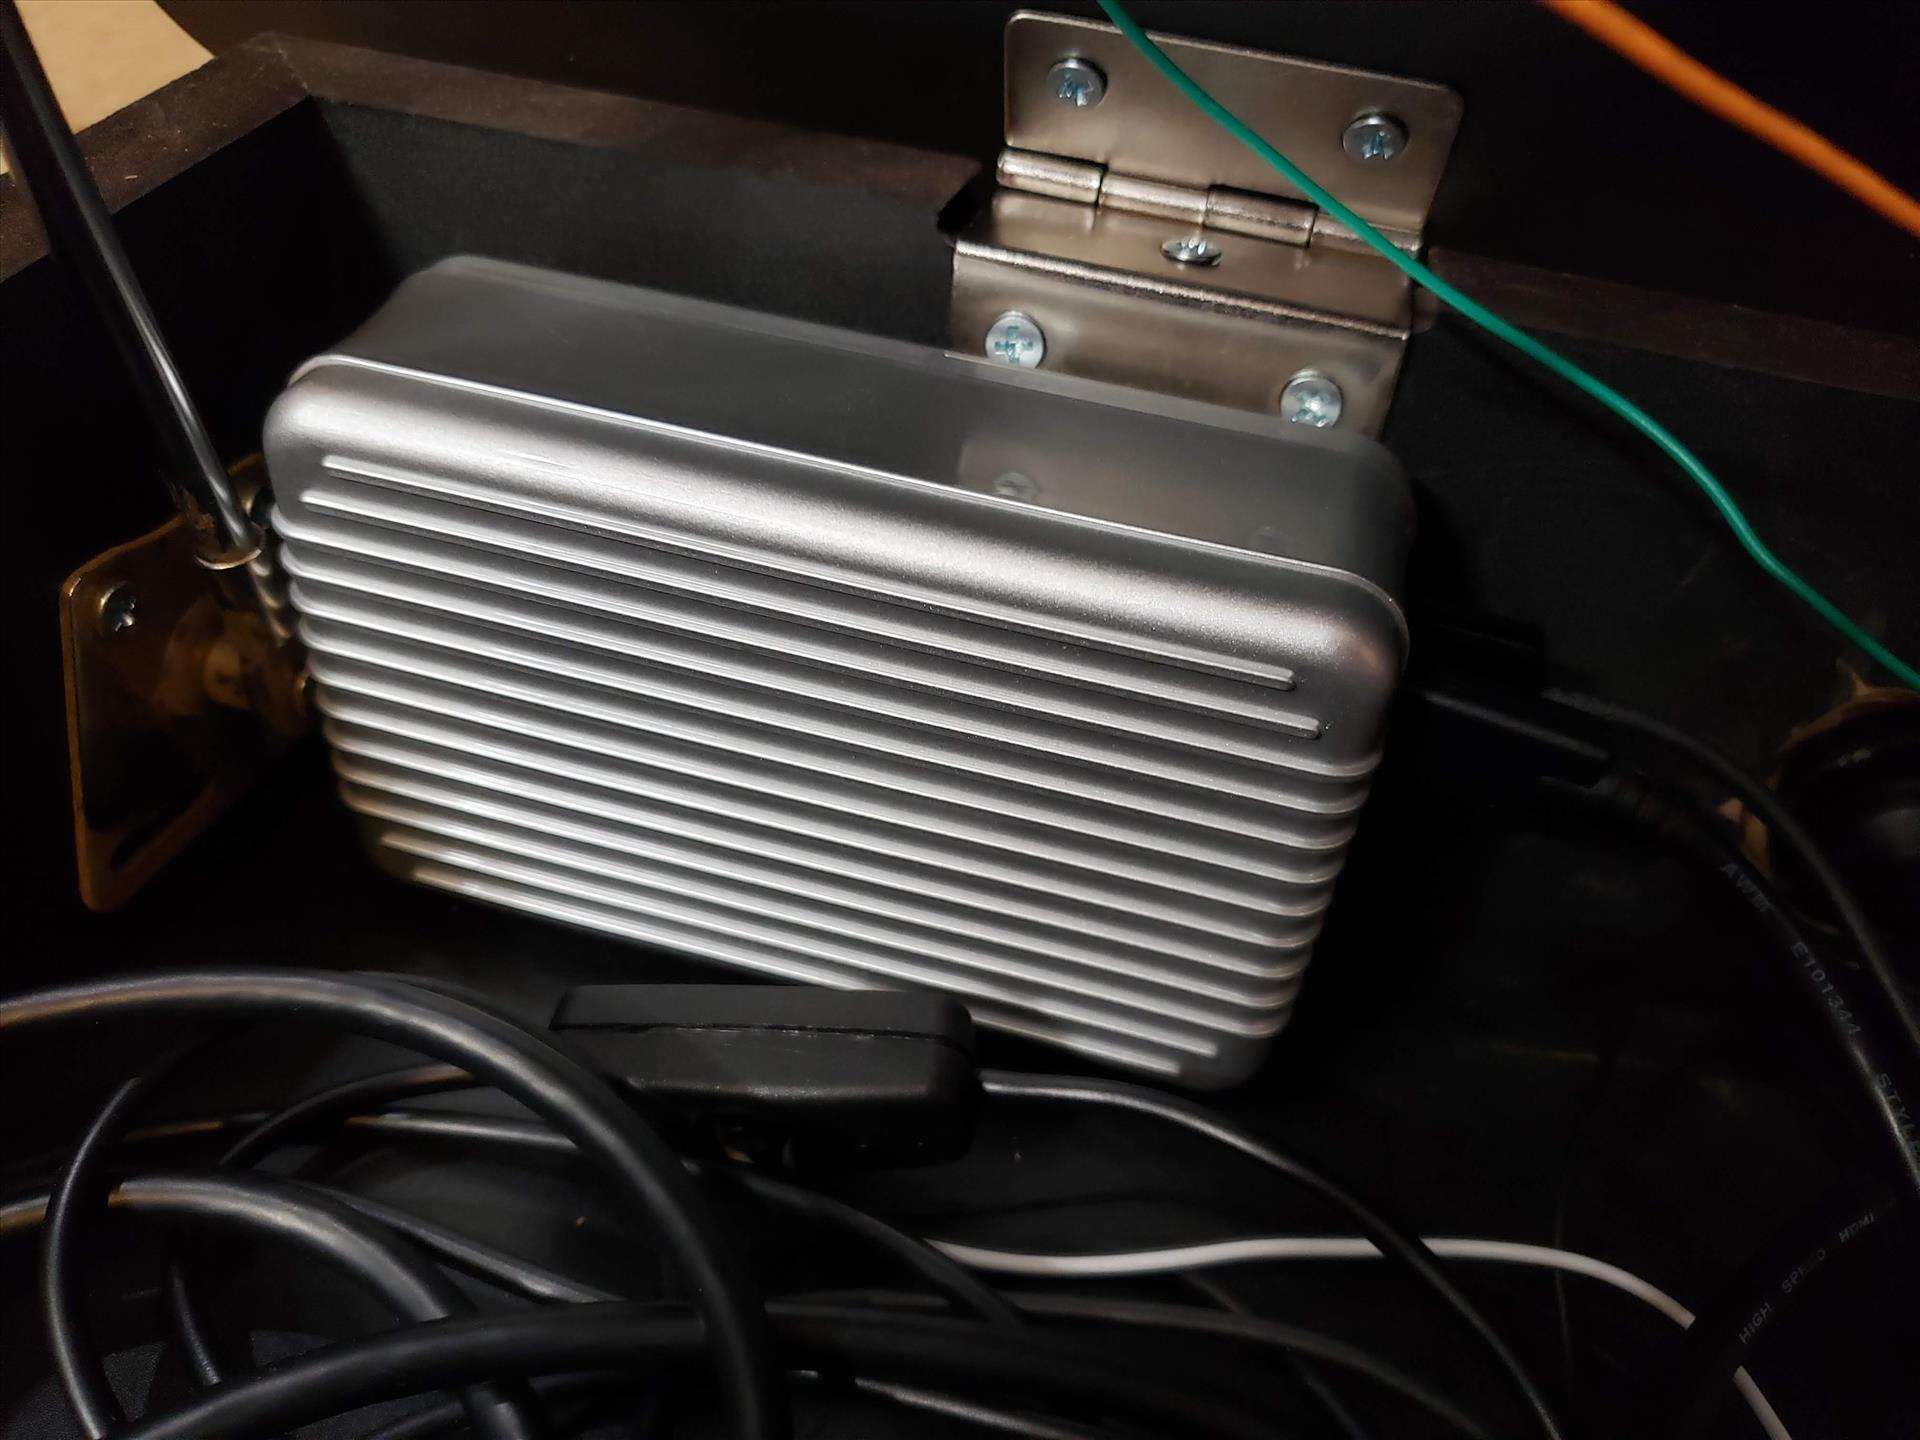
I actually Kickstarted the Zendure SuperTank a year ago that fits this bill. This 27,000mAH power bank has the ability to power three devices while charging itself (four if not plugged into the wall) and has that pass through charging feature.
With such a large battery, the Zendure SuperTank should have the capability to run the Raspberry Pi for many hours of gameplay. This thing is, well, a tank, as it’s built pretty large and features a nice LCD display on how much charge it has left. You can grab one off Amazon for about $100, but you can certainly use other sizes. I suggest making sure it has the pass through charging technology if you decide on this mod.
I was afraid the size would make it hard to put into the Atari Ultimate Dual Fight Stick, but thankfully it fits right on the back edge corner of the control deck. Using some double sided velcro, I stuck it to the back to keep it secure, but also letting me take it out if I need to replace it without too much effort.
I ran a USB-C cable from the Raspberry Pi 4 to the USB-A connector on the SuperTank. All the ports aren’t the same on the Super Tank so you have to make sure you plug it into the right one where it can deliver enough power to the Raspberry Pi 4.
One of the things about the Raspberry Pi 4 is, even if you shut it down from the menu, it will still draw power. That’s evident by the fan still spinning and a light on when asked the shut down. So, if I was going to be away from a wall plug for a long time or if I just want to make sure no more power was being drawn from the Super Tank, I decided to pick up this small USB-C dongle with a power switch. Yes, it does go away from my goal of having all the plugs and switches on the outside, but I have a fix for that which I will get to in a minute.
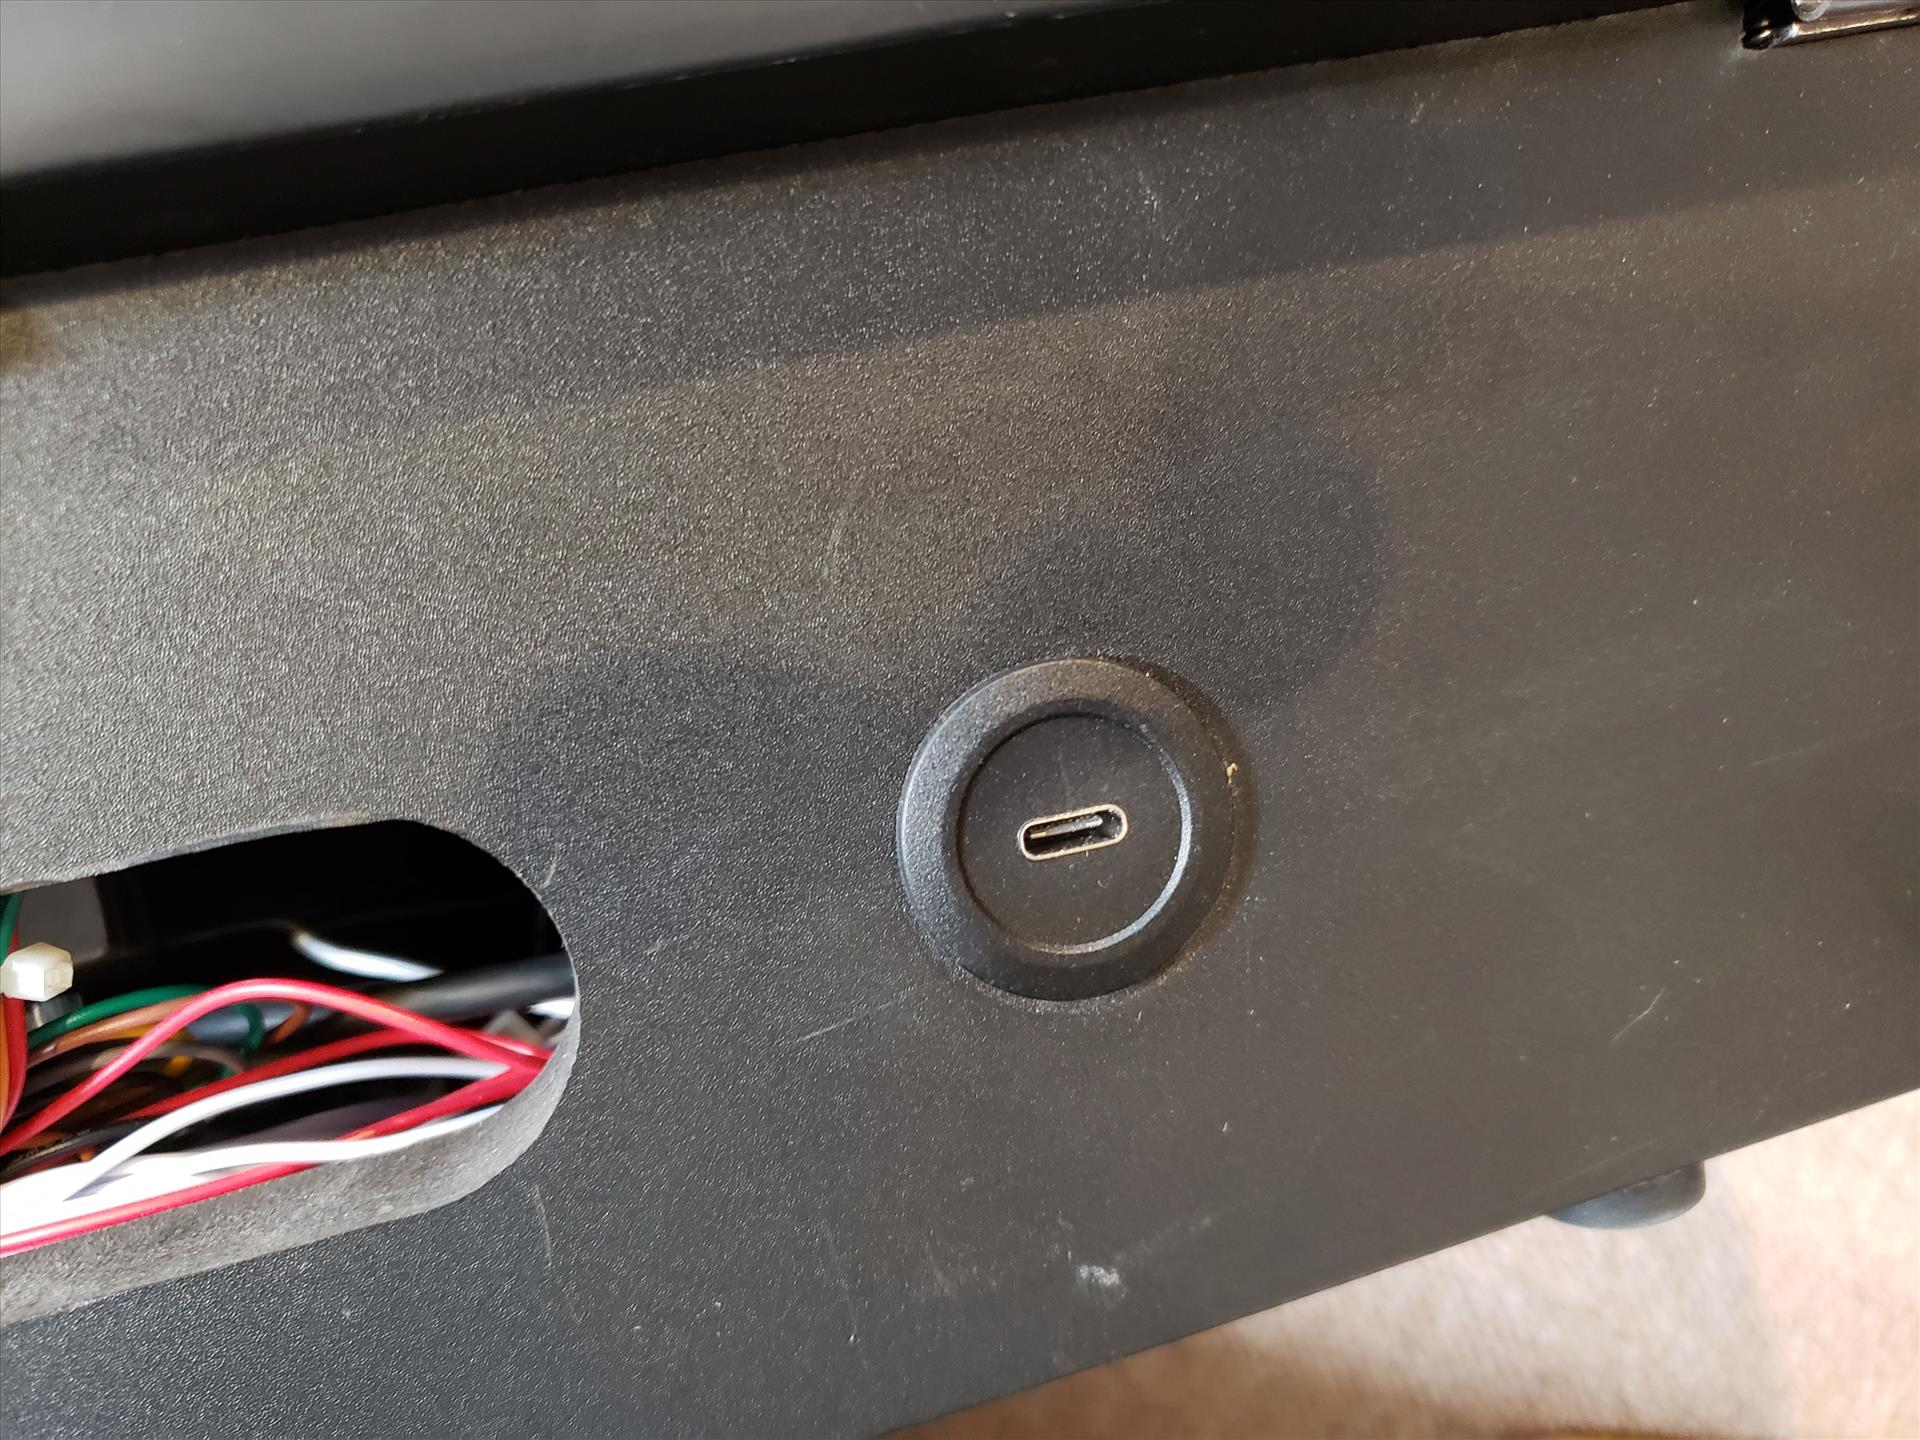
Now comes the issue of charging the Super Tank. I could run a USB-C cable out the notch of the unit, but I want to make this as clean as possible. So, I picked up a USB-C round panel mount extension cable from Adafruit. This will plug into the charging port of the Super Tank and allows me to not have any cables dangling out the back when not in use. Clean, simple, elegant, and works like a charm. The only issue I had was the length of the connector made it impossible for me to just drill a simple hole as the thread lock wouldn’t be accessible due to the thickness of the wood panel. I had to widen the hole on the inside so I could then thread the plastic lock in there to keep it in place. It was a little more work than I had planned, but now it’s set in place and it won’t go anywhere. It’s not pretty on the inside, but no one sees the inside that much.

So now we have the power bank powering the Raspberry Pi 4 and have the ability to run it when not plugged into the wall as long as the power bank has a charge. With the Raspberry Pi 4 though, turning it on after you shut it down requires me opening the Fight Stick, unplugging the power to the Pi, and plugging it back in. I’d like a way to push a button to start up the Pi again as well as an LED indicator to let me know if it is on. On Amazon, I picked up this latch button that can be made to sit flush against the panel.
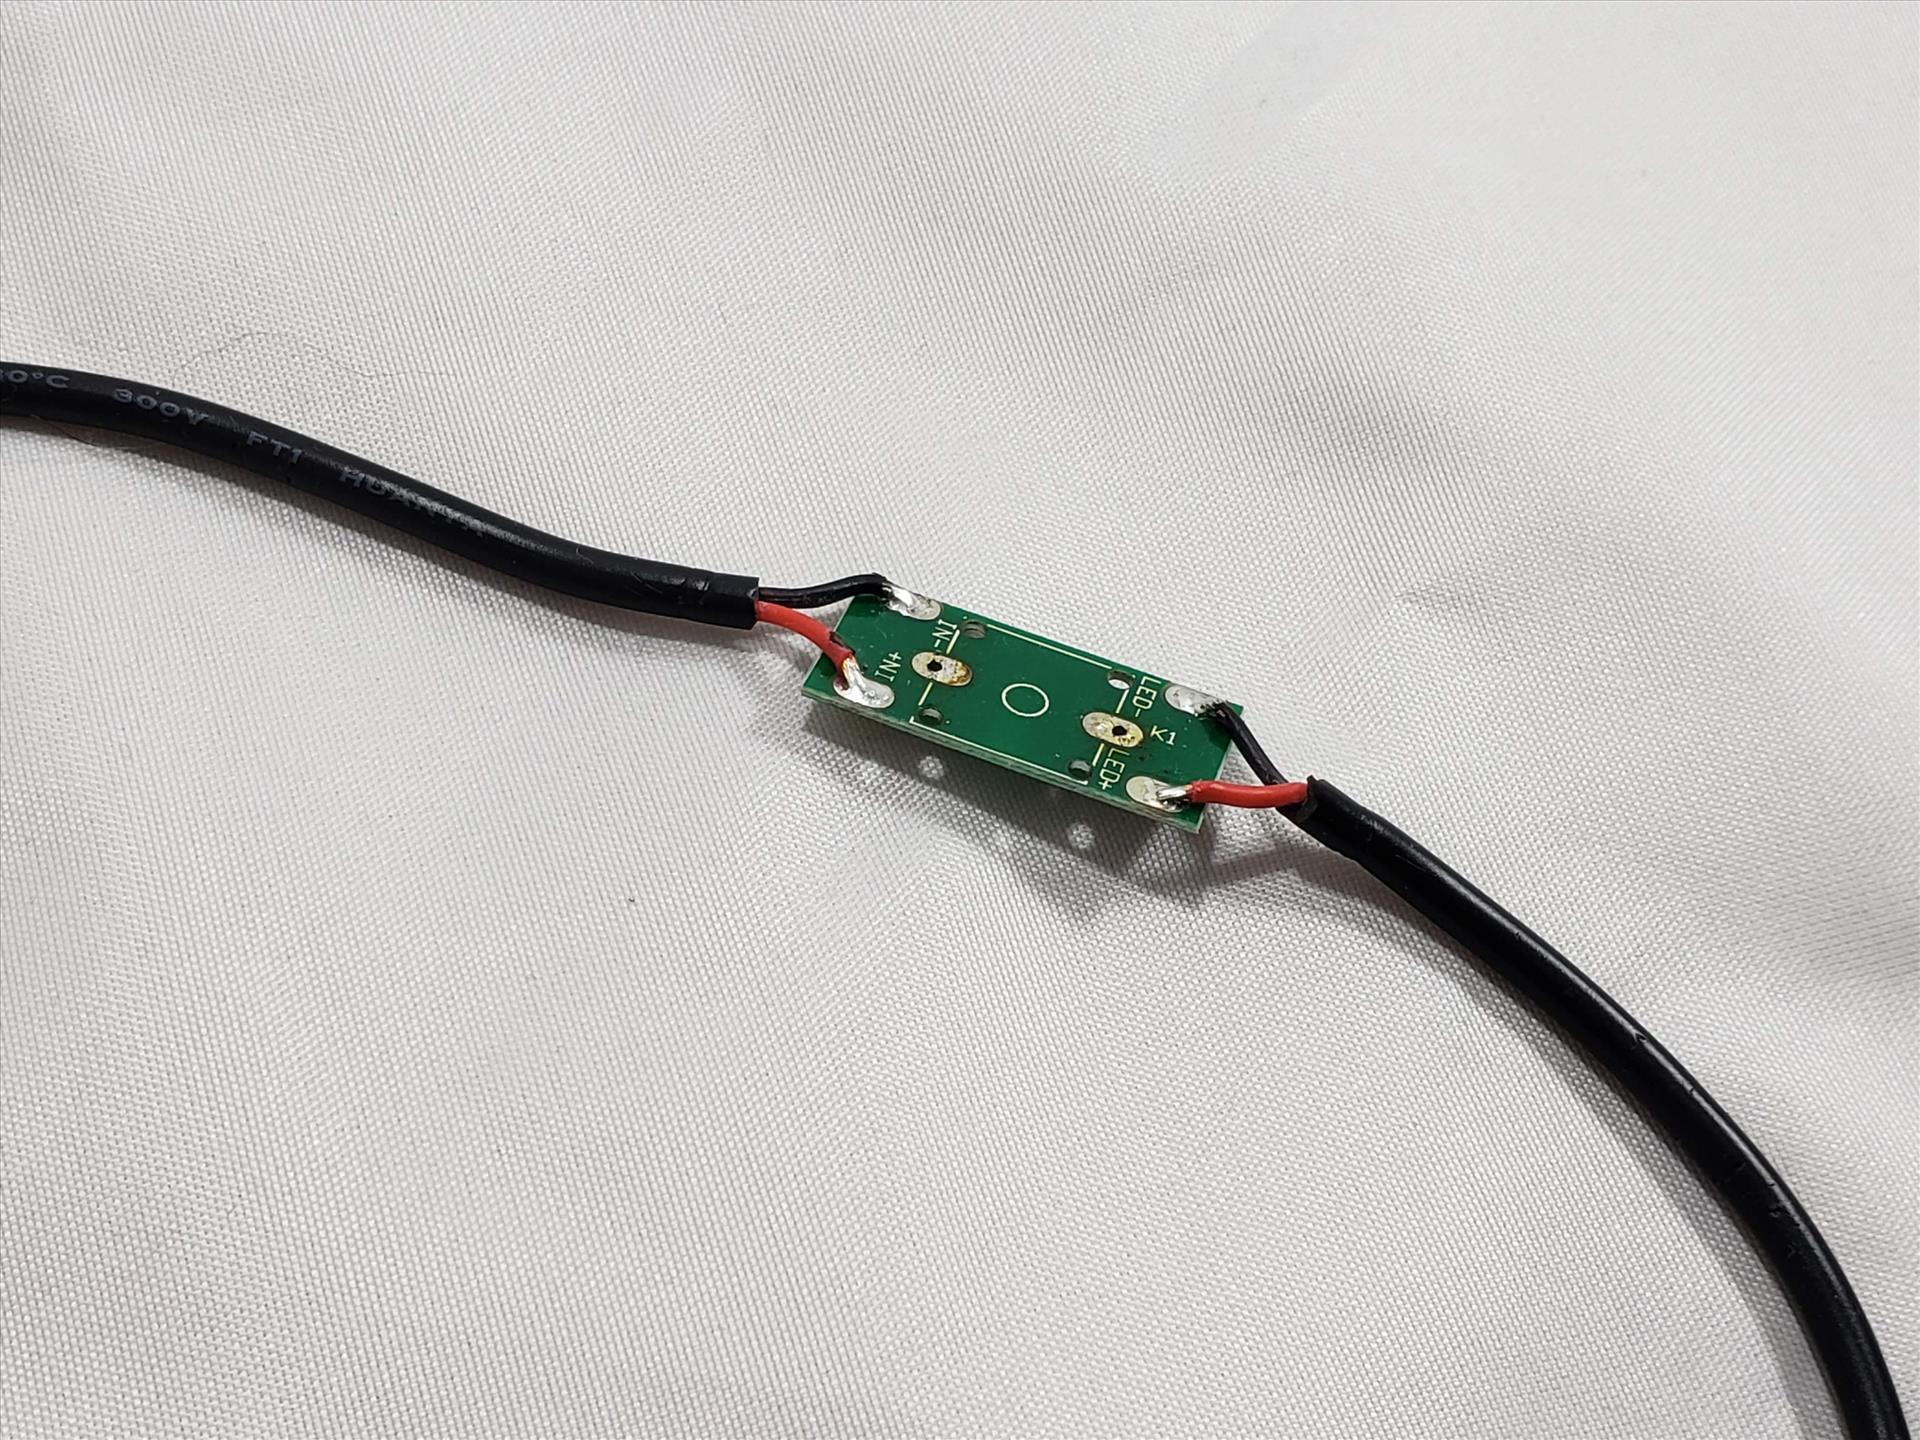
Remember how I said I wanted a way to turn the power supply from the Pi 4 to the power bank on and off with a push of a button? I took apart the USB-C dongle and removed the switch that was in place. I then soldered two wires to the latch button in the same places and with a push of a button, I am able to provide or disable power to the Pi 4.
This button wasn’t long enough to have the threads be accessible for me to use the locking nut, so I turned to a glue gun to keep it in place. Just some glue around the button in the hole and it’s holding firm.

The button allowed me to shut off RetroPi in the menu, press the button to completely disable the power to the unit, and then press it again to turn everything back on. Awesome! The only thing I wished this had was a little LED to let me know when it’s on or off and while there were some buttons available that had this built in, I don’t understand enough about wiring to tie it into the switch. I guess I could have wired the LED to the Pi 4 and maybe I’ll switch it out in the future to do so.
I decided to drill the panel near the cutout in the back for the power button. That way, I don’t accidentally press it when I’m playing and safe from shutting down in the middle of a game.


With all in place, I was able to just have one cable now extending from the Atari Ultimate Dual Fight Stick with Trackball and play on any TV with an HDMI connection regardless of where the power was. And the SuperTank lasts a long, long time. For now, it seems to draw about 1% every hour of play so it can last a long ways before needing to recharge. We’ll see how it holds up once I add in LED buttons to the setup.
Next time, I’m going to incorporate a USB switch and a USB panel connector to allow me to switch between having the fight stick use the internal Raspberry Pi 4 or let me plug it into another Raspberry Pi or a PC so I can use it with an external device.
* The product in this article was sent to us by the developer/company.


About Author
I've been reviewing products since 1997 and started out at Gaming Nexus. As one of the original writers, I was tapped to do action games and hardware. Nowadays, I work with a great group of folks on here to bring to you news and reviews on all things PC and consoles.
As for what I enjoy, I love action and survival games. I'm more of a PC gamer now than I used to be, but still enjoy the occasional console fair. Lately, I've been really playing a ton of retro games after building an arcade cabinet for myself and the kids. There's some old games I love to revisit and the cabinet really does a great job at bringing back that nostalgic feeling of going to the arcade.
View Profile