
Building a gaming seat for simulators
In preparation for Star Wars: Squadrons and anticipation of Microsoft Flight Simulator 2020 in VR, I’ve been setting up a cockpit-like setup along with a small portable VR centric computer. I’ve actually had the parts for a while, but with one of the more highly anticipated spaceship battle games coming out this week, I thought I’d finally finish it off.
Links to all the items I picked up will be posted at the end of this article.
What I wanted to accomplish was the ability to play flight simulator games as well as driving games all in one seat. So that would mean a wheel attachment, along with a HOTAS setup. I also want both to be in comfortable positions so I’m not fighting the controls when doing one or the other. After doing some research on what I could afford, here’s what I came up with.
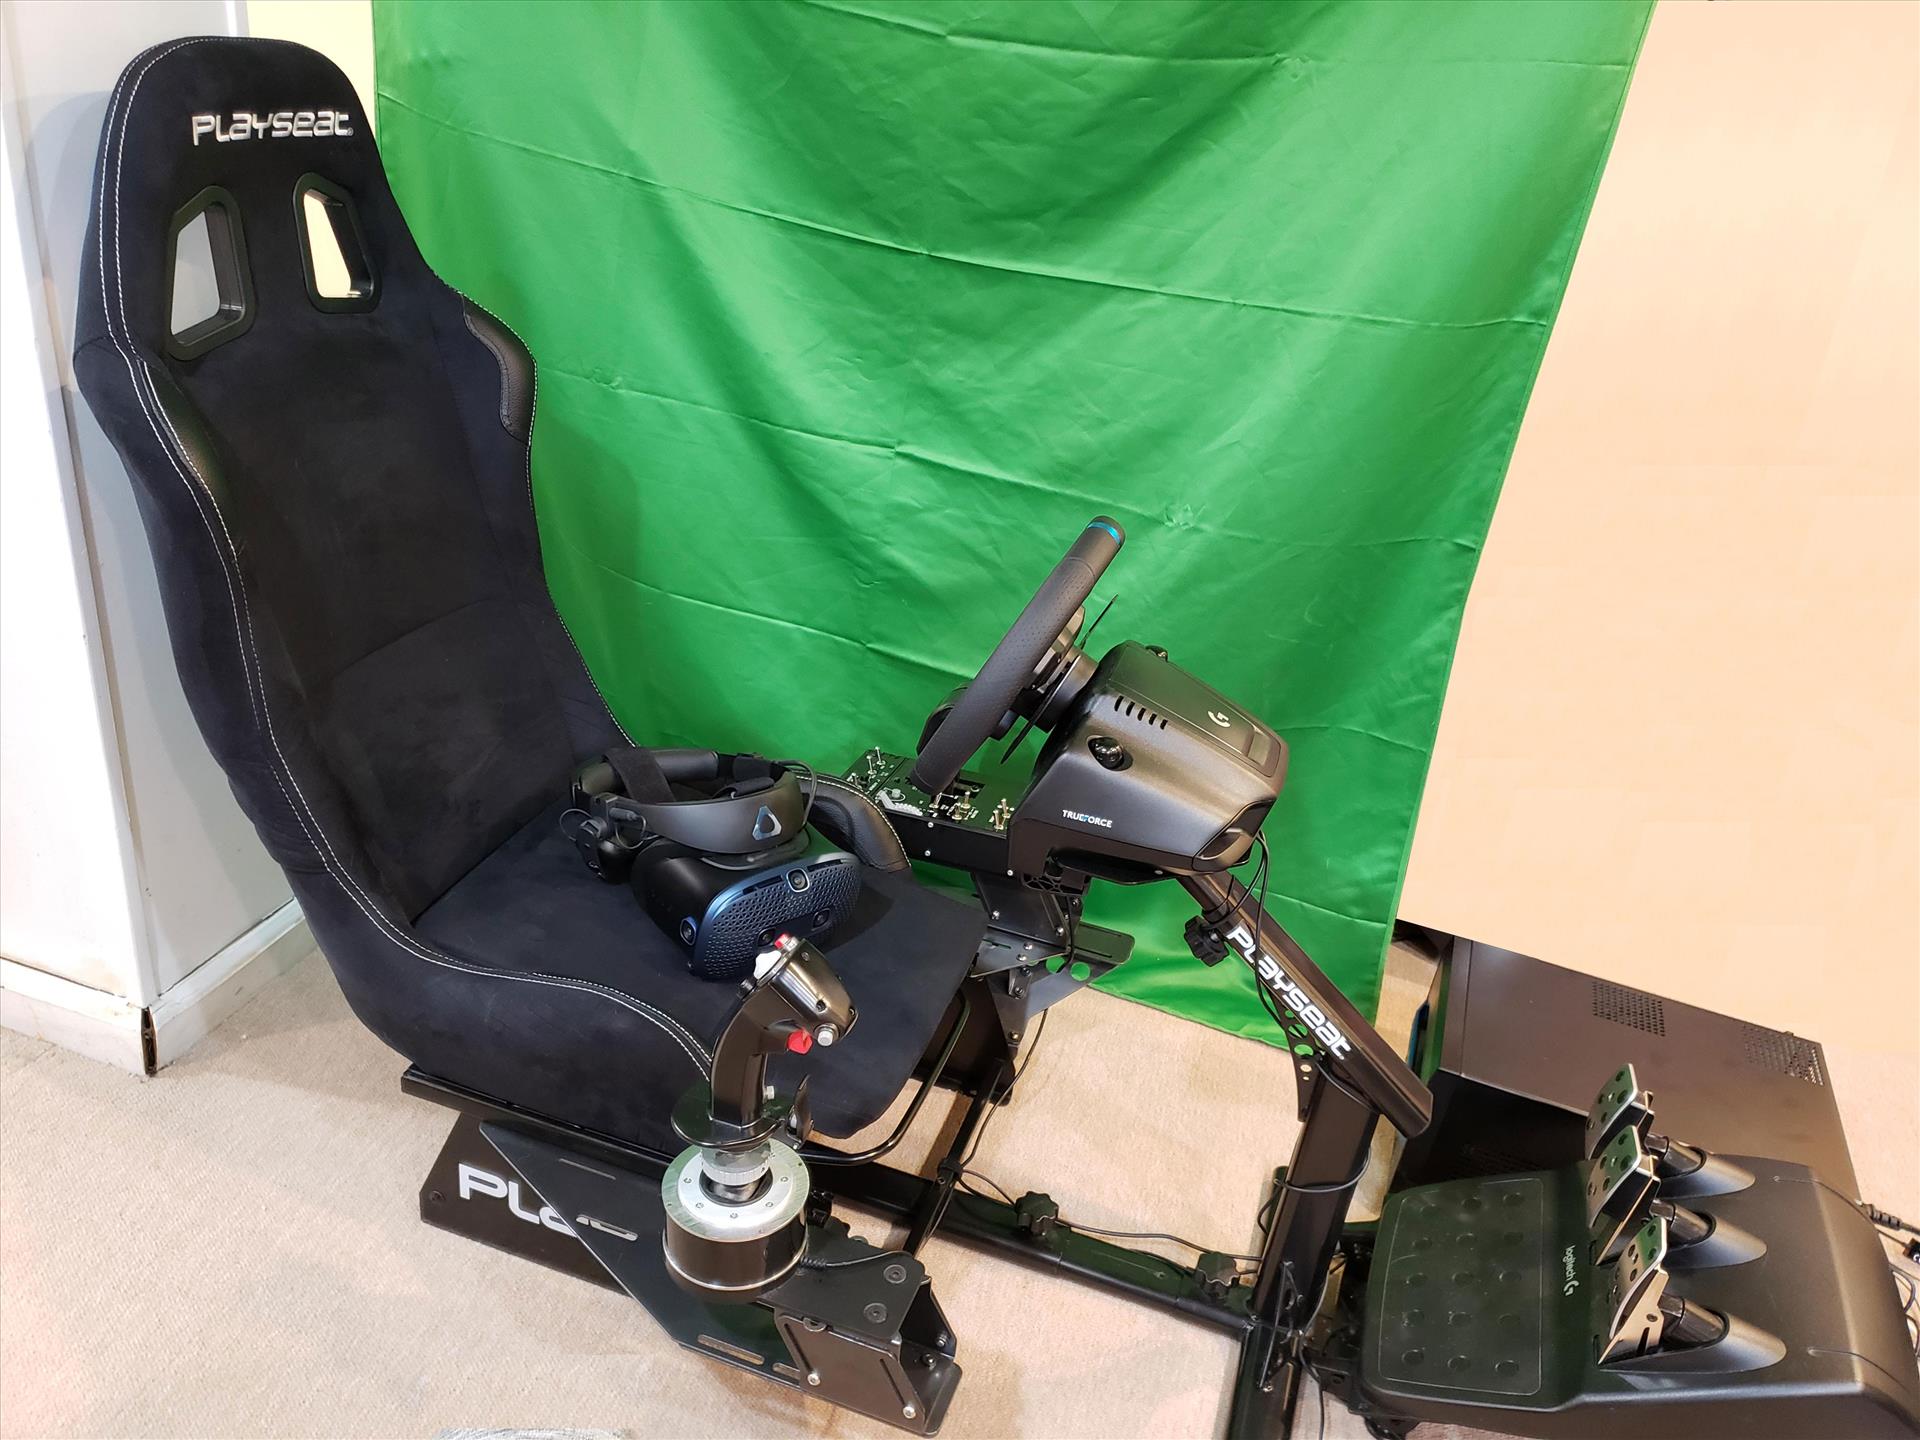
For the seat, I went with the PlaySeat Evolution Alcantara. It wasn’t too expensive and there were a few accessories I thought would go well with what I was trying to accomplish. The Alcantara comes with a plate for the pedals, a peripheral attachment base, and the seat can fold down to make storage a little easier. The metal frame is rigid and there’s a few areas where you can loosen it to adjust the distance of the pedals from your body. The seat has a nice soft cloth feel, and there’s a seat cushion with extended under-leg support. Assembly only took me a few hours, so it wasn’t a large time commitment to put it all together.
I didn’t always want to turn these large knobs to adjust the seat, so I picked up a set of seat rails that will let you adjust the position of the seat forward or backward. The seat locks in place with a handle under the front of the seat, just like a traditional car seat adjuster. Installation was pretty easy with the Alcantara seat sitting on top of the rails and then attaching to the base. All told, it was a nice addition and allowed me to move the seat easily to get in, out, and into position. This also makes it easier for multiple people in the household to adjust the seat to their preference.
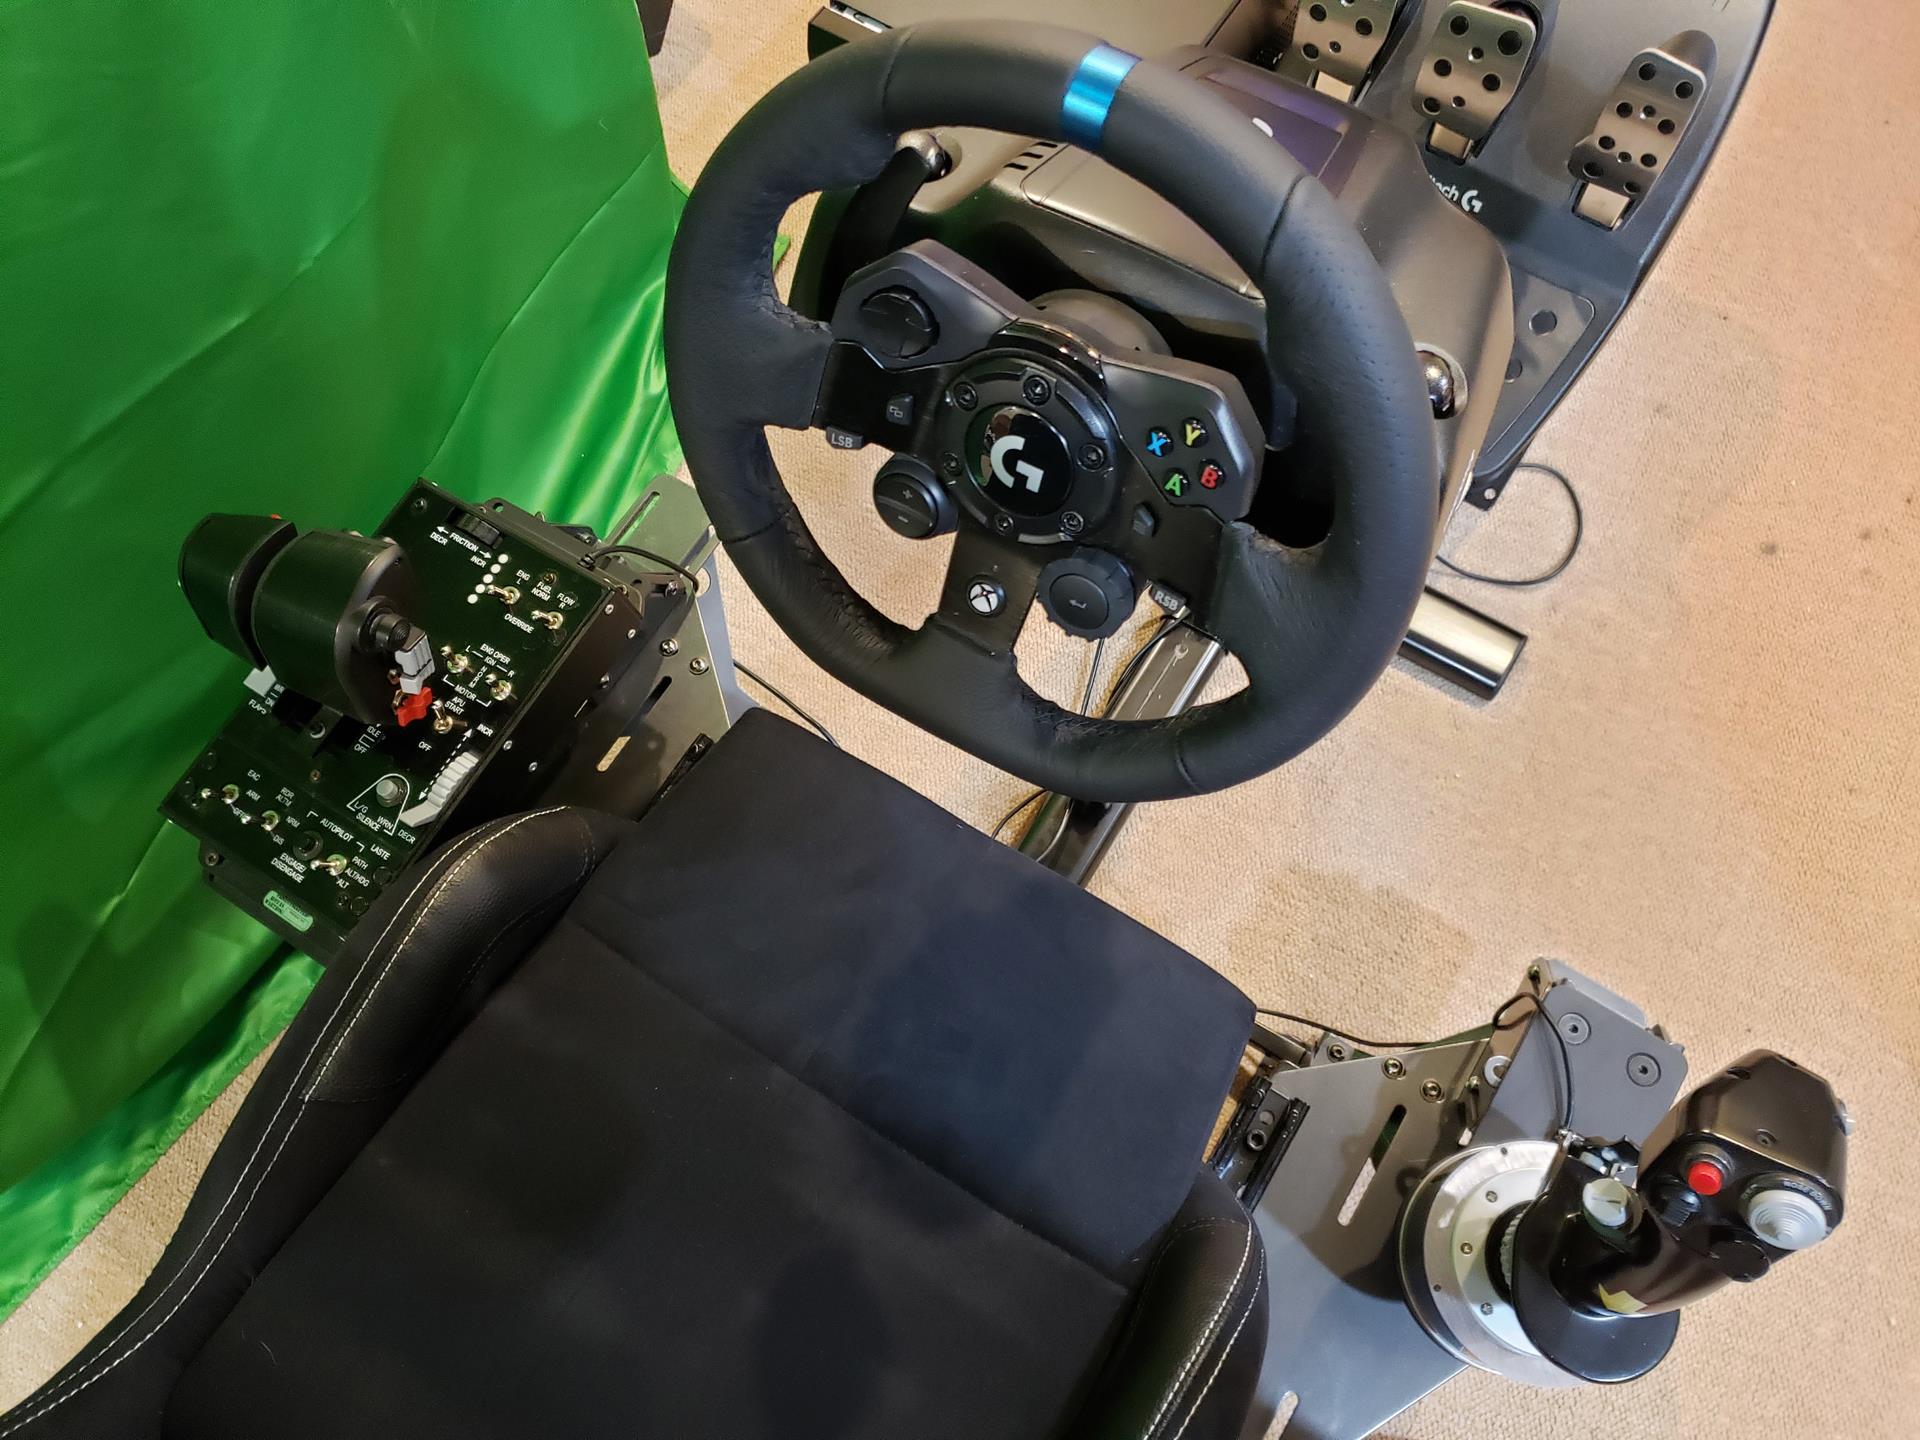
So now that I had the seat, it was time to figure out how to install the HOTAS. I went with the Thrustmaster Warthog, because the thing’s a beast and it has more than enough buttons and switches for games like Elite Dangerous or Squadrons. Of course, for Flight Simulator 2020, it has enough for a novice flyer like me.
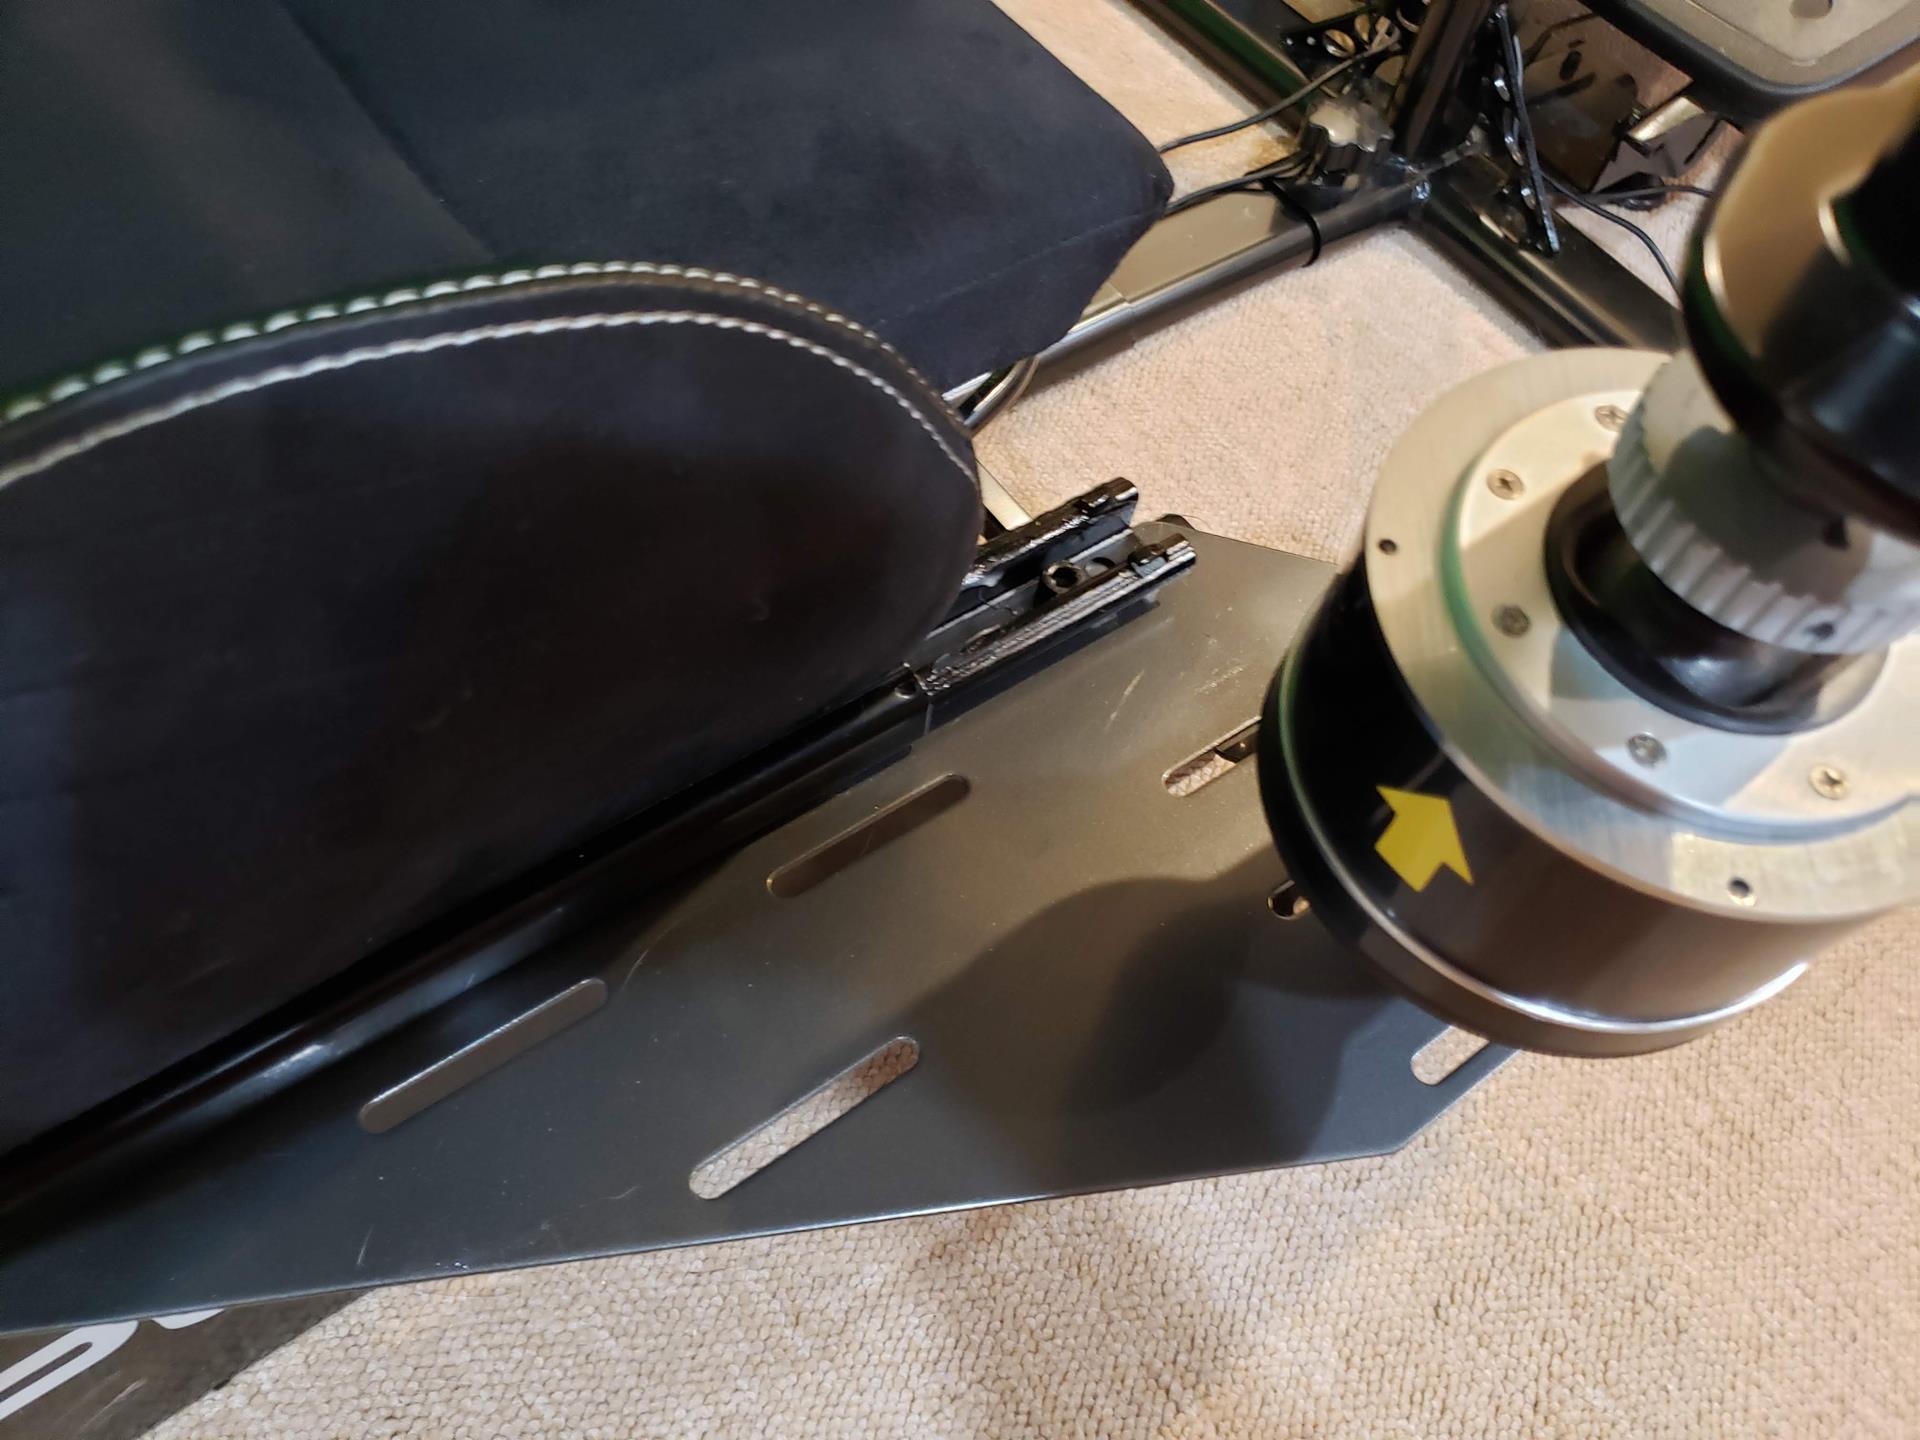
I wanted the position of the flight stick and throttle to be on either side of me and from what I saw, PlaySeat sold a Gear Shift holder that can be put on either side of the Alcantara seat. My thought was that I would get two, put one on each side, and they would each hold their respective controller.
After scouring eBay, I finally found two to purchase that weren't overly expensive. I was able to mount them on either side of the seat pretty easily. Microcenter was also an option, but at the time they didn’t have any in stock. Of course, they do now that I don’t need them, but that would’ve been my preferred go-to for these parts. Now came the problem of attaching the Warthog controllers to the gear shift holders.
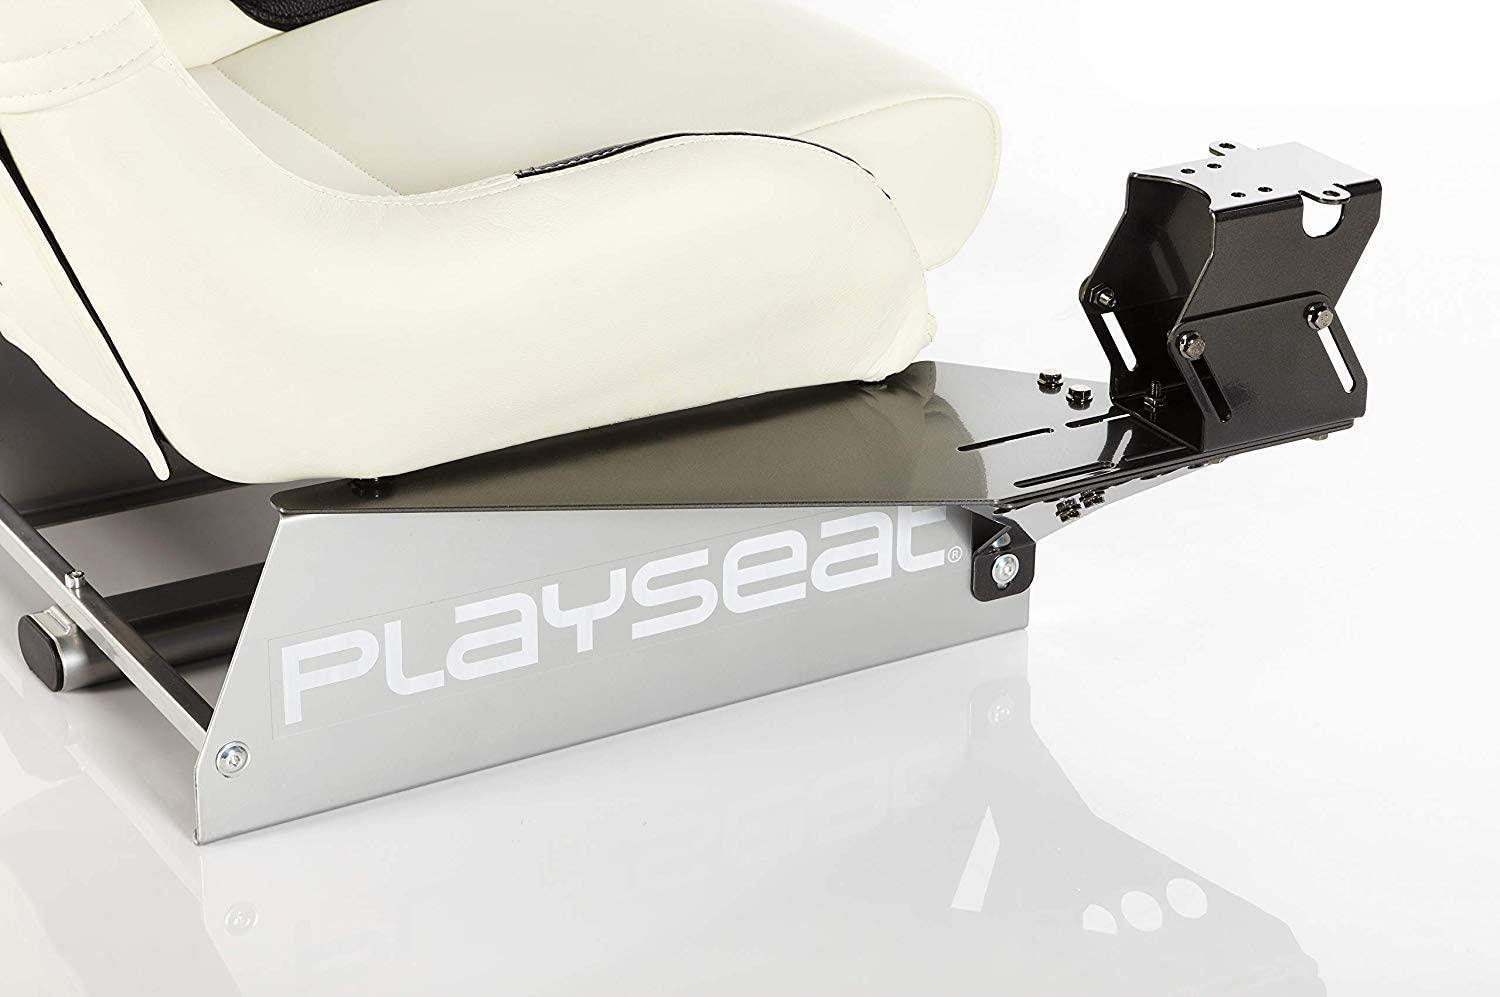
There weren’t any holes that lined up with the base, so I had to think of some way to jerry-rig these onto a plate that could then be attached to the holders and be sturdy. After a long, long search, I found a company that made simulation seats that also sold individual base plates for the Warthog.
Before I get into my solution, there is one nice looking 3D printed option that I’m going to try here in the near future. Someone created a swappable cradle for the PlaySeat Gear Shift holder with various bases. It looks like a really nice solution and if I ever decide to say enable interchanging my HOTAS with a gear shifter on the side, this is what I think I will go with.
MONSTERTECH, a company in Germany, had almost exactly what I needed. They had two plates that you screwed the Warthog controllers onto and then the holes lined up with the ones PlaySeat Gear Shift Holders. The size of the holes weren’t exact so I had to drill the MONSTERTECH plate holes a little bit, but after about five minutes of drilling, the screws went right through and were locked into the Gear Shift Holders. You can adjust where the Gear Shift Holders sit, so I moved them to a position that I was pretty comfortable with and locked them in place.

Sweet. So that took care of all the flying games. For driving, I just needed a wheel and pedals. I have to go without a true gear shift for now, as I have no way to attach it. But maybe in the future I can find somewhere to put it that would make it usable.
I had reviewed a few Logitech racing wheels in the past and it just happened that Logitech sent over a G923 Trueforce racing wheel to review. Perfect!
The base on the PlaySeat Alcantara has holes that lined up with the ones on the pedal base for the Logitech set, so that it was easy to attach and keep in place. For the wheel itself, I’m currently just using the two table attachment clips, but I’ll probably screw them in place in the future for a more permanent setup.
I then ran all the wires down the frame and tied them up or tucked them under so they were neatly out of the way.
What’s nice about gaming in VR is that I won’t need a big stand to hold a monitor in front of me. That makes the setup a little bit smaller if you’re space limited.
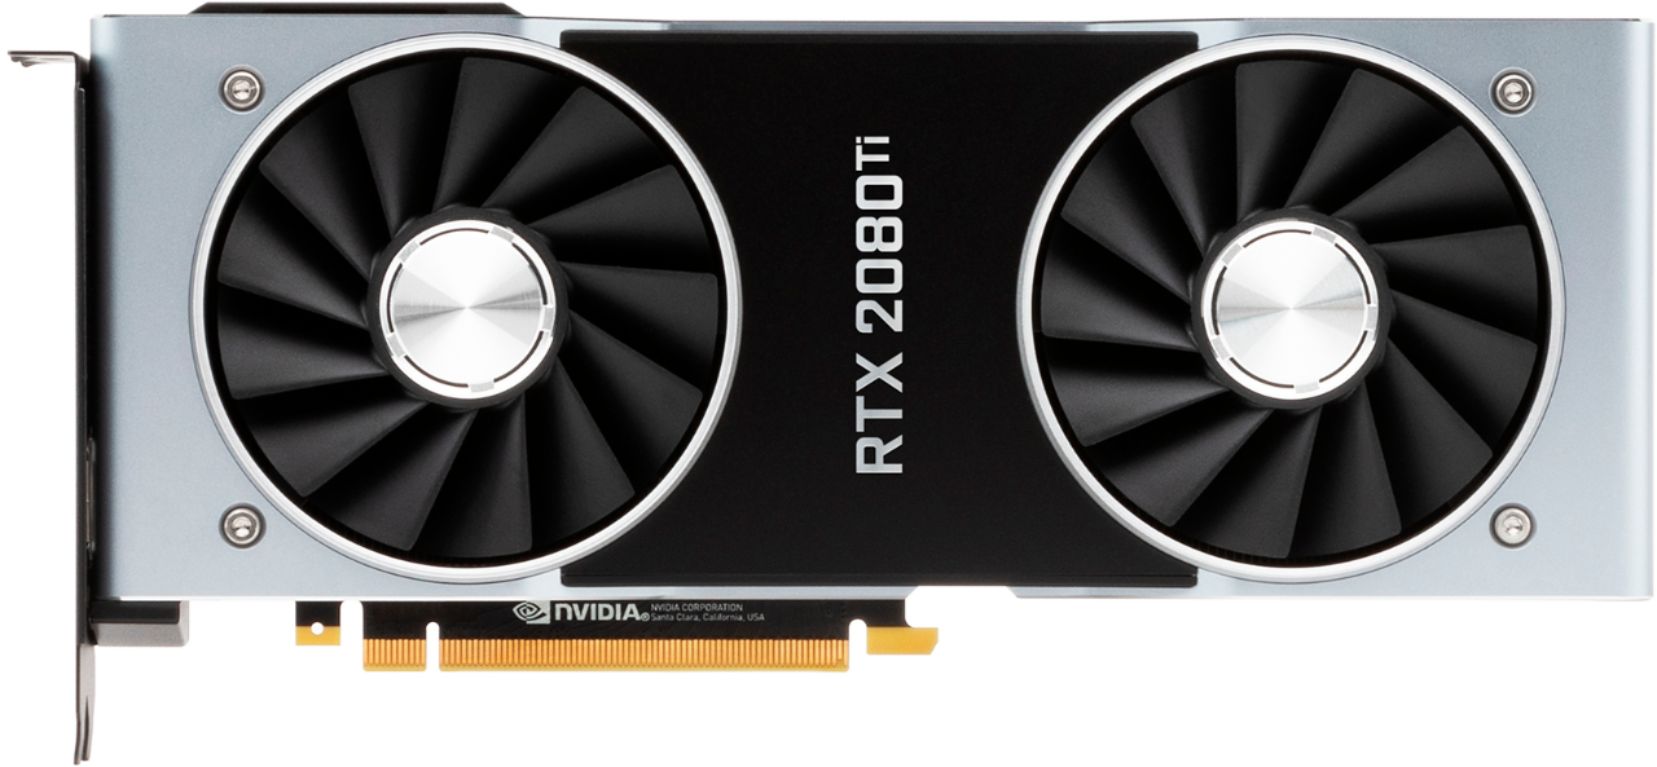
For my VR-centric computer, I had an i7-4770K laying around and an MSI MS-7817 mATX motherboard to go with it. 16GB of memory, and to help with the visuals, a NVIDIA GeForce RTX 2080 Ti, all put inside a Silverstone SG12B case. The reason I chose the Silverstone was because it had enough room to put everything in without too much trouble and it includes a handle on the front so I can easily carry this to a LAN party if need be.

If I’m going to be gaming in VR, I want as fast of a GPU as possible that can run comfortably in my small form factor case. My main gaming computer has the GeForce RTX 3080 right now, so the RTX 2080 Ti was available. Even though it’s a few years old, it’s more than enough for VR gaming today. And I’m hoping developers start to implement DLSS in their VR games since NVIDIA updated DLSS to be VR capable recently.
For a VR headset I had two choices in my possession: The HTC Vive Cosmos or the Samsung Odyssey+. Each has their own strengths and weaknesses, but both have inside out tracking so I didn’t have to set up any external sensors or lighthouses to get going. I just wanted to put on the VR headset and play.

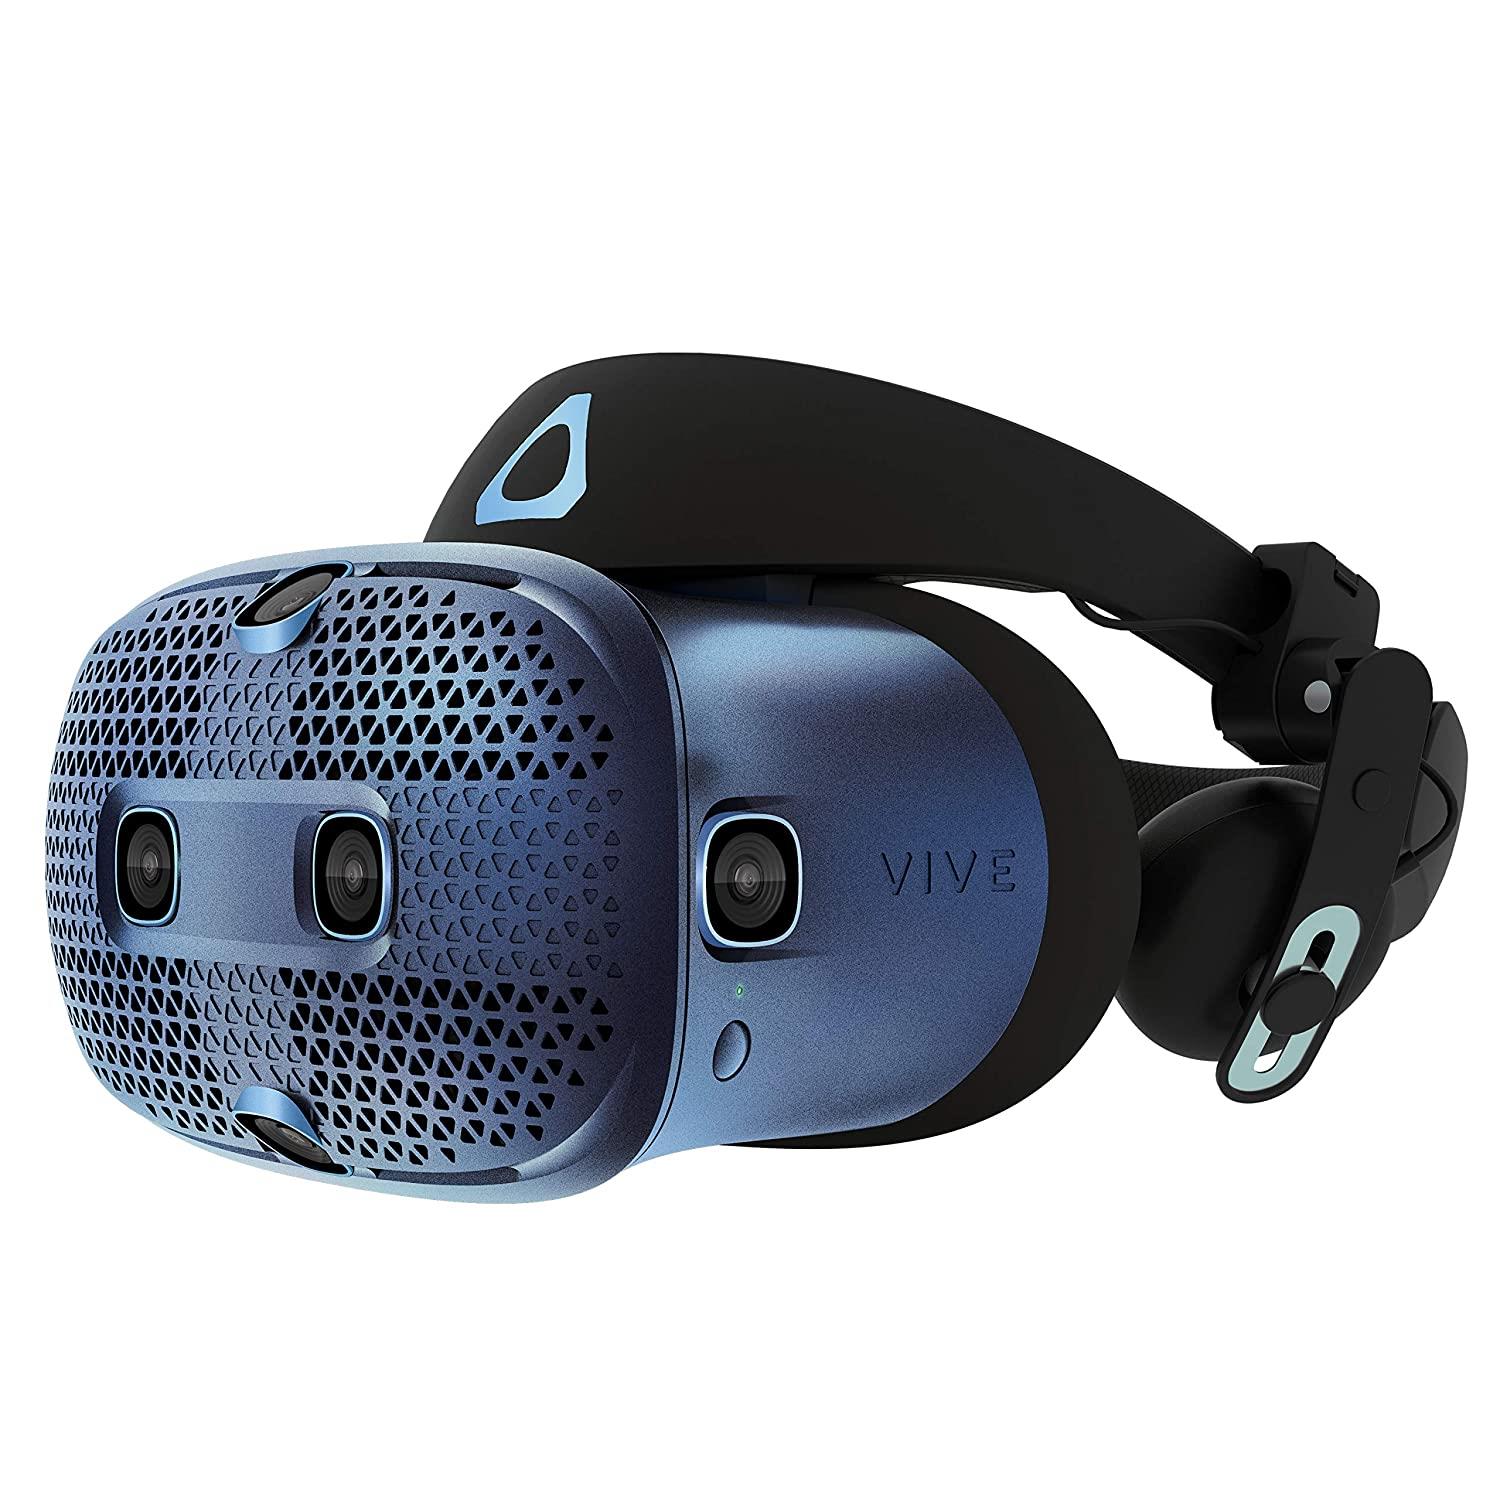
With Microsoft Flight Simulator 2020 only working with Windows Mixed Reality headsets on its first release from the initial report, it looks like I’ll be going with the Samsung Odyssey+. But really, either one would be great for a simulation setup. I like the fit of the Cosmos a little bit more if both were stock, but I’ve purchased some comfort accessories for the Samsung Odyssey+ that makes wearing the headset for a long period of time much easier and with no discomfort. And I could always keep both on hand and switch between the two depending on which I prefer.
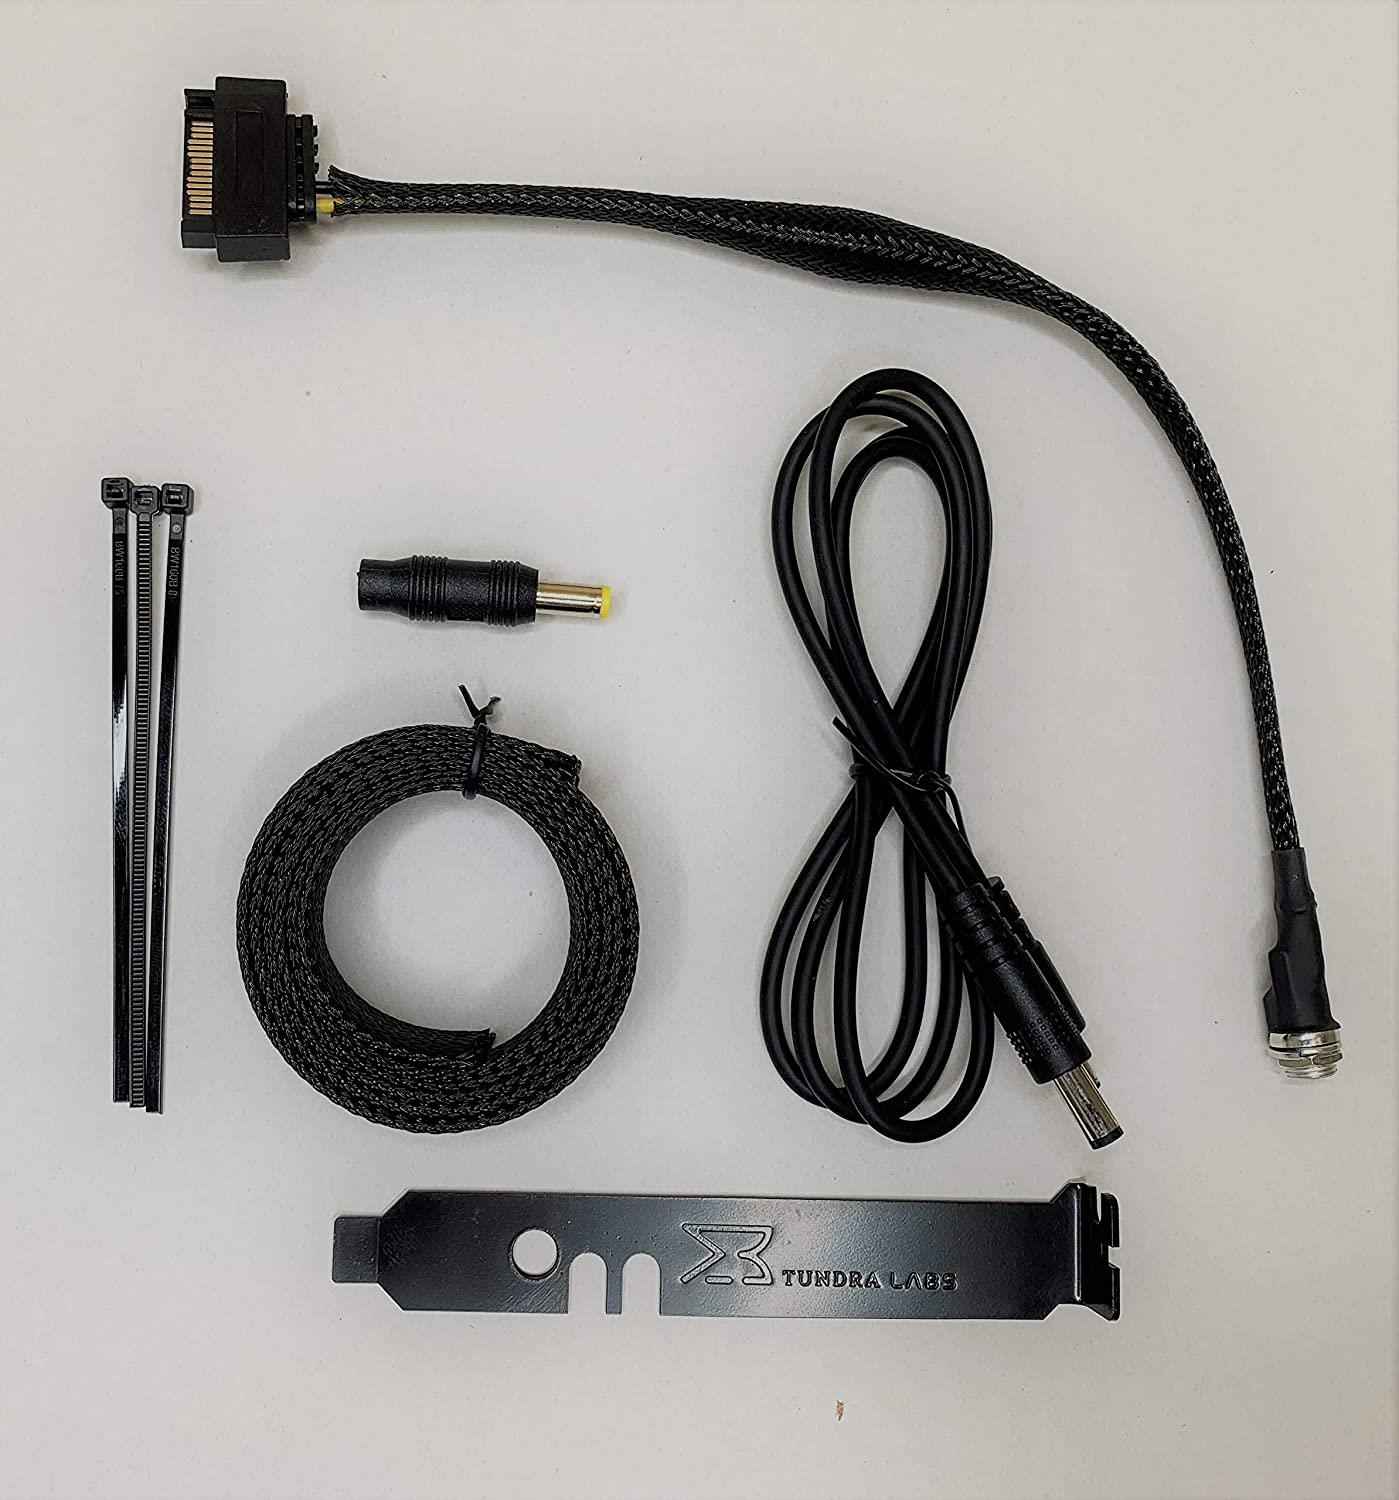
The Samsung Odyssey+ has only two cables: an HDMI and USB plug. The HTC Vive Cosmos, on the other hand, needs an external power source. I don’t want to plugged in more than I need to be. Seeing as how the power supply in the computer should provide enough juice to run one, I went and picked up a Tundra Labs VR power kit.
The Tundra Labs power kit takes one of the SATA power connections and converts it to a barrel plug so you can plug a HTC Vive, Cosmos, or a Valve Index into it and forgo a wall plug. I have one on my main gaming machine as well for my Valve Index and it works like a charm. I’ve used it for a few months and have had no issues whatsoever. If you have one of the VR headsets that also needs an external power supply, I highly recommend the Tundra Labs power kit.

I also picked up a small wireless keyboard mouse combo to control the computer when using the headset. I could have a small tenkeyless keyboard and mouse attached, but this setup comes in handy when you want to type in certain things, or when you need a mouse to maneuver around the menu in a game or desktop. I had some issues trying to get a Bluetooth one to work. When in desktop mode in my headset, none of the keys or touchpad worked. Grabbing the 2.4Ghz model that comes with a small dongle worked for me right out of the box. Your mileage may vary on this one depending on the Bluetooth controller in your PC.
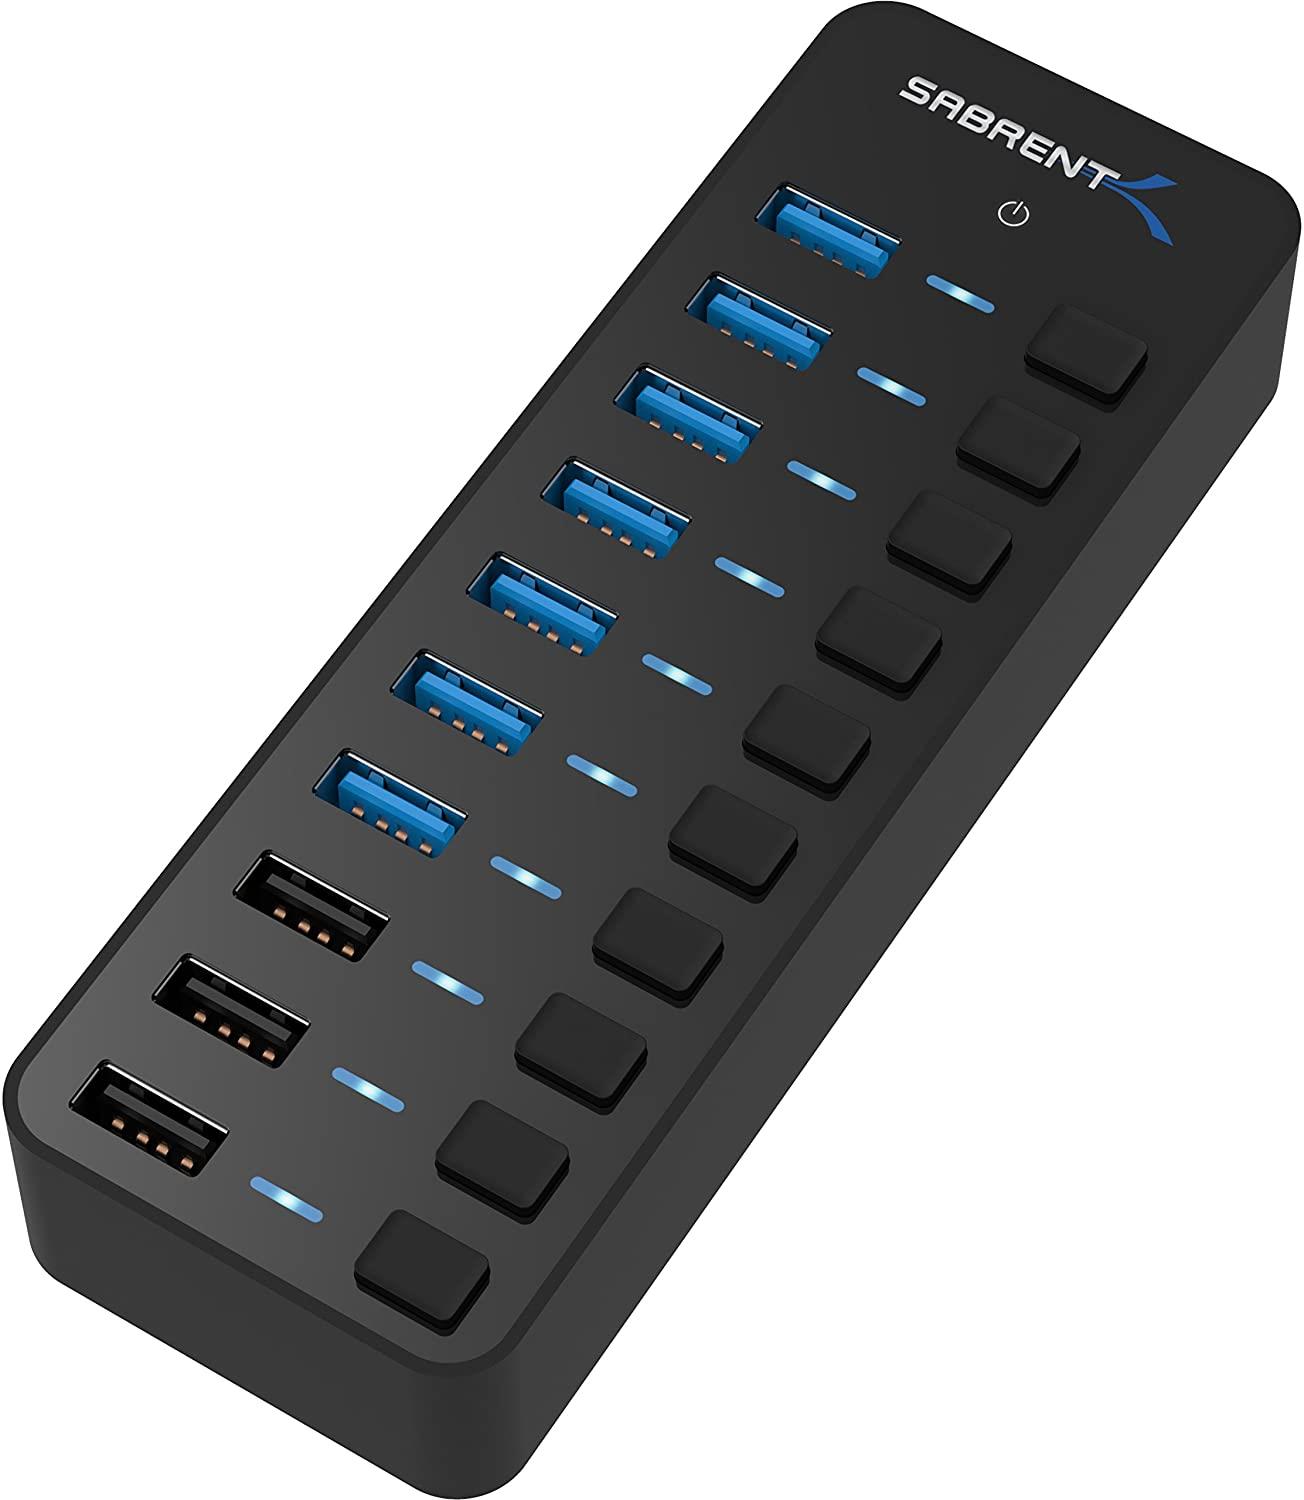
While I did have enough USB ports on my computer to accommodate the controllers and VR headset, a nice powered USB hub helps keep the connections in a single area. If you get one where you can toggle the power to the individual ports, you can essentially turn off a device without having to unplug it. There are a few on Amazon and I’ve linked below one that’s been working well for me. It features 7 usable ports and 3 charging ports.
Parsec was installed to allow for easy remote control. What’s nice about Parsec is that the mobile client is pretty solid. For times when I want to go in and turn off the computer, I could just pull up the desktop on my phone with Parsec and initiate a shutdown. There’s also an option to use Voice Attack or some voice command program to say a phrase to shutdown the computer. But John, you ask, why don’t you just use the built-in Remote Desktop in Windows 10? I found Parsec to be a little more performant, and I like the mobile client as well as the ease of connection allowed by selecting my computers I want to connect to from the menu. Just be sure to secure your Parsec account with two- factor authentication.
Speaking of Voice Attack, this is one of those programs that I’ve come to depend on. For games like Elite Dangerous where there could be a long list of commands, Voice Attack and a voice pack comes in handy. For example, I had one voice command where I would say “Request Landing” and if you were in the default cockpit view, it would cycle over to the left window, tab over to the station tab, select request landing, and hit the button. Sure, I could have looked over and done it all manually, but sometimes you just want to be lazy and have it done for you.
For some reason, Windows 10 won’t send a display signal to the Samsung Odyssey+ with no monitor connected to it. You used to be able to attach just the VR HMD; Windows 10 would boot into the Microsoft VR Cliffhouse and you could use it headless. Some Windows update changed the way this worked so I grabbed a DisplayPort headless ghost plug that tricks Windows into thinking a monitor is plugged in. It was only after using one of these that I was able to just have my Samsung Odyssey+ on and use that when the computer booted.

With the HTC Vive Cosmos, I was able to get it started inside their virtual environment without the Headless Ghost dongle, but upon exiting I couldn’t see the desktop with Parsec. That’s not good. Once I plugged the Headless Ghost back in, Parsec worked again without any issues. I could easily issue a shutdown command with my phone so the Headless Ghost was a must if not connecting to a monitor.
In the end, this was a nice fun weekend project that will give me even more immersion when playing VR flight simulators or racing games. In the future, I’d like to add a Buttkicker so I can feel some of the action in the game. Other than that, I can’t think of much else I currently want to add to the setup, but I’m always on the lookout for ways to make it better. Hopefully, this will give you some ideas on how to make something to fit your simulation gaming needs and get you more into the game.
PlaySeat Evolution Alcantara -
- https://www.amazon.com/Evolution-Alcantara-Playstation-Thrustmaster-Controllers/dp/B009ZELZ7O
- https://www.microcenter.com/product/470765/playseat-evolution-hq-alcantara
PlaySeat Sliders -
- https://www.amazon.com/Playseat-RAC00072-Seat-Slider-Kit/dp/B00124UKJY
- https://www.microcenter.com/product/470774/playseat-gear-shift-holder-pro
PlaySeat Gear Shift Holder -
Logitech G923 Trueforce Wheel -
Thrustmaster Warthog -
HTC Vive Cosmos -
- https://www.amazon.com/HTC-Vive-Cosmos-PC/dp/B07TWNTGCH
- https://www.microcenter.com/product/611909/htc-vive-cosmos-vr-headset
Samsung Odyssey+ -
MONSTERTECH Plates -
Headless Ghost -
Tundra Labs power kit -
Sabrent 10 port powered USB hub -
Cable Sleeves -
Mini Wireless Keyboard -
Silverstone SG12B -
NVIDIA GeForce RTX 2080 Ti -
Parsec -
Voice Attack -
3D Printed PlaySeat Gear Shift Cradle - https://www.thingiverse.com/thing:3942617
3D Printed G29 Gear Shift Plate - https://www.thingiverse.com/thing:4277104
3D Printed Cradle Base Insert - https://www.thingiverse.com/thing:4277113
* The product in this article was sent to us by the developer/company.


About Author
I've been reviewing products since 1997 and started out at Gaming Nexus. As one of the original writers, I was tapped to do action games and hardware. Nowadays, I work with a great group of folks on here to bring to you news and reviews on all things PC and consoles.
As for what I enjoy, I love action and survival games. I'm more of a PC gamer now than I used to be, but still enjoy the occasional console fair. Lately, I've been really playing a ton of retro games after building an arcade cabinet for myself and the kids. There's some old games I love to revisit and the cabinet really does a great job at bringing back that nostalgic feeling of going to the arcade.
View Profile